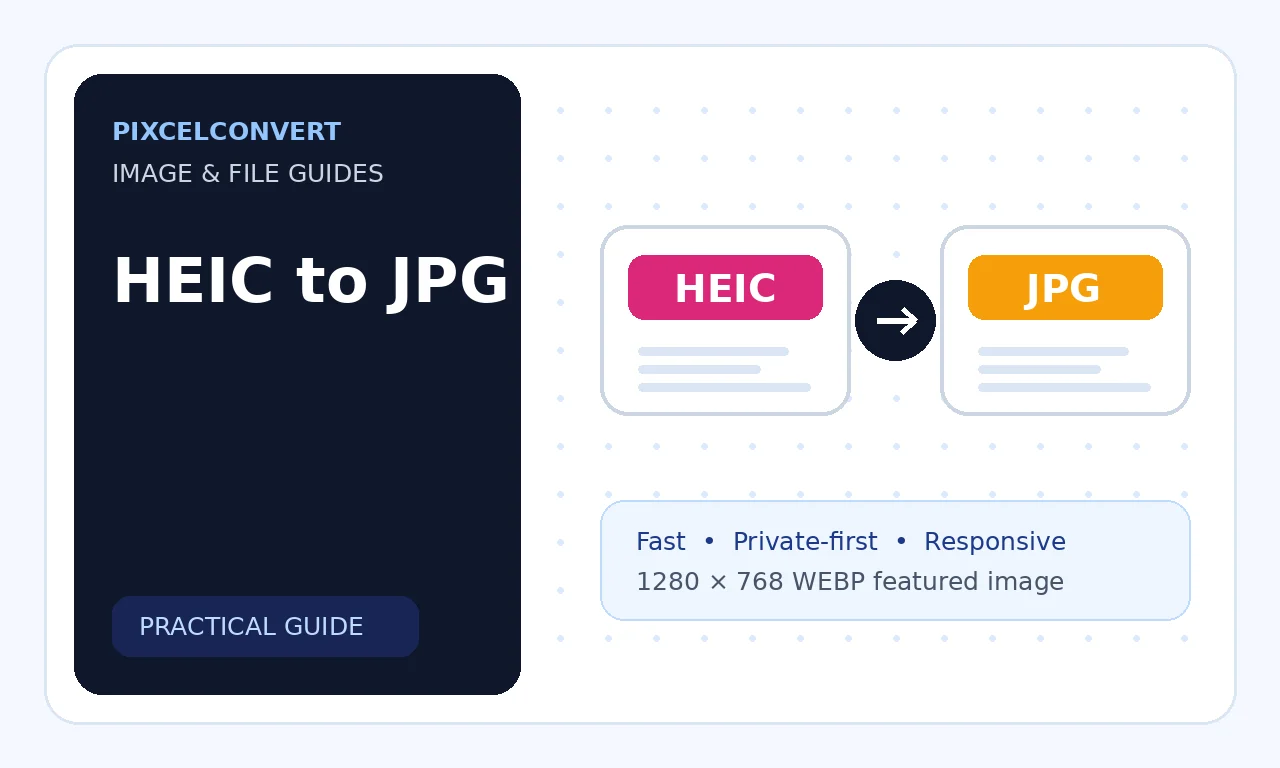
HEIC is an efficient format commonly produced by Apple devices, but it is not accepted by every website, application, email workflow, or Windows installation. Converting HEIC to JPG creates a broadly compatible copy that can be opened, uploaded, edited, and shared more easily.
On this page
Table of Contents
Introduction
A correct conversion should preserve orientation, color appearance, useful dimensions, and enough quality for the intended destination. It should also give you control over metadata such as capture date, device information, and GPS location.
Need a converter? Browse the complete PixcelConvert tool directory.
Why HEIC Files Cause Compatibility Problems
HEIC can store high-quality photos efficiently, but decoding support depends on the operating system, browser, application, and installed codecs. Some Windows systems require an additional extension, while certain web forms and publishing platforms accept only JPG or PNG.
The original HEIC may also contain depth, burst, live-photo, or multi-image information that a simple JPG cannot represent. Conversion usually creates a flattened still image.
Choose an Appropriate JPG Quality
JPG uses lossy compression, so the quality setting affects file size and detail. For normal web and email use, a high but not maximum setting often provides a strong balance. For printing or heavy editing, keep a higher-quality output and preserve the original HEIC.
Inspect hair, foliage, fabric, text, skies, and low-light areas because these regions can reveal compression damage. Avoid repeatedly resaving the converted JPG.
Check Orientation and Rotation
Phone photos often rely on orientation metadata rather than storing the pixels in the final viewing direction. A weak converter may remove that metadata without rotating the pixels, producing a sideways image.
After conversion, open the JPG in more than one viewer and confirm that portrait and landscape photos display correctly. A reliable tool should apply the orientation before writing the output.
Manage Color and High Dynamic Range
Some HEIC photos contain wide-gamut or high-dynamic-range information. JPG delivery is commonly expected in standard dynamic range and sRGB. Tone mapping or profile conversion can change brightness, highlights, and saturation.
Compare skin tones, skies, bright signs, and shadow detail. If the output looks washed out or overly dark, try a different processing engine or export directly from the source device with compatible settings.
Review EXIF and Location Metadata
HEIC files can include capture time, camera model, exposure settings, and GPS location. Decide whether the JPG should preserve this information. Metadata can be useful for personal archives but inappropriate for public uploads.
Use a metadata inspector before sharing sensitive photos. Removing EXIF does not change the visible picture, but it may remove information required by cataloging or professional workflows.
Convert HEIC to JPG Step by Step
Open a HEIC to JPG converter with confirmed HEIC decoding support. Upload the file, choose the JPG quality, decide whether metadata should be retained, and process the image.
Download the result, verify orientation and colors, inspect the dimensions, and compare file size. Keep the original HEIC until the JPG has been tested in Windows, WordPress, email, or the final destination.
- Confirm HEIC decoding is available
- Upload the original image
- Choose JPG quality and metadata preferences
- Convert and download
- Verify rotation, color, dimensions, and privacy
- Keep the HEIC master
Use Converted Photos on Websites
For websites, resize the JPG to realistic display dimensions and consider generating WebP or AVIF delivery versions after the compatible JPG master has been created. Add descriptive alt text and use responsive image sizes.
Do not upload an entire full-resolution camera roll to WordPress without checking storage, backups, privacy, and performance. Process representative images first and verify the complete publishing workflow.
HEIC to JPG Conversion Checklist
Review these items before deleting or sharing the source.
| Check | What to verify | Why it matters |
|---|---|---|
| Orientation | Portrait and landscape direction | Prevents sideways photos |
| Color | Highlights, skin tones, saturation | Catches profile or HDR issues |
| Quality | Fine detail and artifacts | Balances size and clarity |
| Metadata | GPS and camera data | Protects privacy |
| Dimensions | Pixel width and height | Avoids unwanted resizing |
| Destination | Windows, web, email, print | Confirms compatibility |
Frequently Asked Questions
Does converting HEIC to JPG reduce quality?
- JPG is lossy, so some data may be removed, but a high-quality setting can preserve an excellent visible result.
Can Windows open HEIC files?
- Some Windows installations can after the required image extensions are available, but support varies by configuration.
Will Live Photo motion be preserved?
- A standard JPG contains one still image and does not preserve the motion component.
Should I remove GPS metadata?
- Remove it before public sharing unless location information is intentionally required.
Can I convert many HEIC photos at once?
- Yes, but test a small batch first to verify color, orientation, filenames, and metadata behavior.
Conclusion
Converting HEIC to JPG is useful when a photo must work across Windows, websites, WordPress, email, or software that does not decode HEIC. Choose a sensible JPG quality, verify orientation, inspect color changes, and decide whether location and camera metadata should remain. Keep the original HEIC because JPG cannot preserve every advanced feature or all source information. For web publishing, create appropriately sized responsive derivatives after conversion. A successful workflow produces a compatible image without unexpected rotation, washed-out color, privacy exposure, or unnecessary file weight.

About the author
mybasirpurcity.pk92@gmail.com
PixcelConvert editorial contributor covering image formats, conversion workflows, compatibility, and practical publishing decisions.