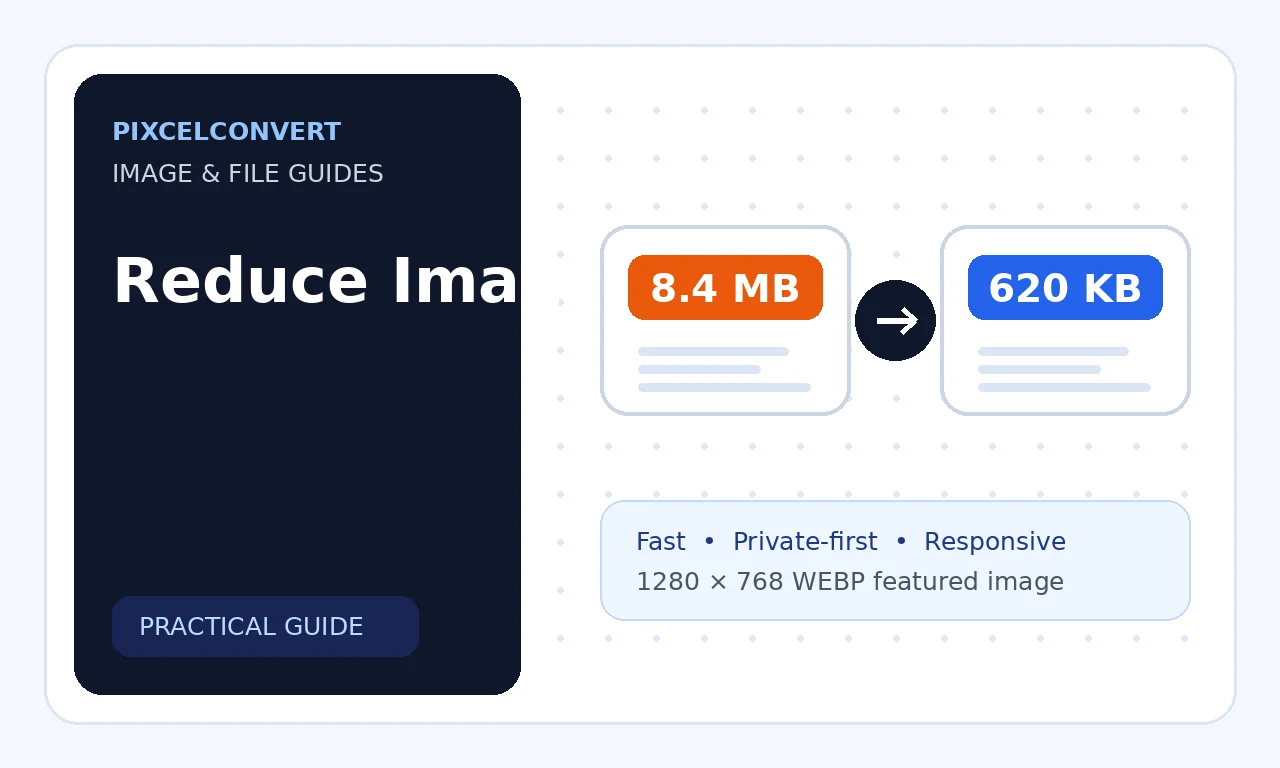
Large images slow websites, consume storage, make emails difficult to send, and increase mobile data use. Reducing file size does not have to mean making every image visibly blurry. The most effective workflow combines correct dimensions, an appropriate format, sensible compression, and verification at the actual display size.
On this page
Table of Contents
Introduction
The key is to remove information that the final use does not need. A 5000-pixel photograph displayed at 800 pixels wastes far more space than a properly resized version, even before compression is considered.
Need a converter? Browse the complete PixcelConvert tool directory.
Start With the Correct Pixel Dimensions
Resize the image to match its largest realistic display requirement. If a blog content area is 900 pixels wide, a 5000-pixel source is usually unnecessary. Retina displays may justify a larger derivative, but not the full camera resolution.
Reducing dimensions lowers the number of pixels that must be stored and decoded. This often provides the largest file-size reduction while preserving a sharp appearance. Never upscale a small image merely to meet a number; upscaling creates more pixels without restoring real detail.
Choose the Right File Format
Use JPG, WebP, or AVIF for photographs. Use PNG for transparency, text-heavy graphics, diagrams, and exact pixels. Use SVG for suitable vector logos and icons. The wrong format can make an image several times larger than necessary.
Modern formats can improve compression, but compatibility and workflow support matter. Keep an original master and create delivery versions for websites, email, print, and social channels instead of relying on one file for everything.
Adjust Compression Gradually
For lossy images, lower the quality setting in small steps and inspect the result. A setting around 75 to 85 is often a reasonable starting range for web photographs, but no single number works for every encoder or image.
Look for blockiness, halos, banding, loss of hair or fabric texture, smeared text, and color shifts. Stop reducing quality when artifacts become noticeable at the intended display size.
Remove Unnecessary Metadata
Images can contain camera details, GPS coordinates, thumbnails, comments, editing history, and color information. Removing metadata can reduce size and improve privacy, although the savings are usually smaller than resizing or compression.
Do not remove color profiles blindly from professional print or brand workflows. For ordinary web publishing, a standardized sRGB workflow is generally easier to manage, but always test critical assets.
Crop Empty or Unimportant Areas
Cropping removes pixels that do not contribute to the message. Product images with excessive empty space, screenshots containing irrelevant browser chrome, and photos with unnecessary background can often be tightened before resizing.
A more focused crop can improve both communication and compression. Keep safe margins for responsive layouts and social crops, and preserve a master copy before destructive edits.
Use Responsive Images on Websites
A single compressed image can still be inefficient if every visitor receives the desktop version. WordPress can generate multiple sizes and expose them through srcset so browsers choose an appropriate candidate.
Confirm that your theme outputs width and height attributes, uses the intended image size, and does not replace optimized derivatives with the full-resolution upload. A CDN can provide additional resizing and format negotiation.
Measure the Result Correctly
Compare transfer size, decoded dimensions, visual appearance, and load behavior. A file that is 20 percent smaller but visibly damaged is not a successful optimization. A file that is slightly larger but avoids layout shifts and looks crisp may be the better user experience.
Test representative mobile and desktop devices, clear caches, and inspect the actual network response. Optimization plugins can sometimes serve a different file than the one visible in the media library.
Best Optimization Method by Problem
Start with the highest-impact issue instead of applying every technique blindly.
| Problem | Best first action | Why it helps |
|---|---|---|
| Image dimensions are huge | Resize | Removes unnecessary pixels |
| Photo file is large | Use JPG/WebP/AVIF compression | Efficient for continuous tones |
| Transparent graphic is large | Test WebP or optimized PNG | Preserves alpha with better compression |
| Screenshot includes extra areas | Crop | Removes irrelevant content |
| Private camera details remain | Remove EXIF metadata | Reduces exposure and some size |
| Mobile users receive desktop files | Use responsive images | Delivers smaller candidates |
Frequently Asked Questions
Can compression be completely lossless?
- Yes, lossless compression preserves encoded image data, though the file may remain larger than a lossy alternative.
What is a good image size for websites?
- Use the smallest dimensions that still look sharp at the largest intended display size.
Does changing DPI reduce web image size?
- Pixel dimensions and compression matter more for browser display; DPI metadata alone usually does not reduce the encoded pixels.
Should I use maximum quality?
- Usually not for web delivery. Maximum settings can add substantial size with little visible benefit.
Can I compress images more than once?
- Repeated lossy compression can compound artifacts, so return to the original master when creating a new version.
Conclusion
To reduce image file size without obvious quality loss, begin with dimensions rather than an aggressive quality slider. Crop unnecessary areas, resize to the real display requirement, select a format that fits the image, and compress gradually. Remove metadata when appropriate, use responsive delivery on websites, and inspect the final result on representative screens. Always keep the original master because optimization is a delivery step, not a replacement for archival storage. The goal is not the lowest possible number; it is a file that loads efficiently, looks correct, preserves required transparency or color, and works reliably in its destination.

About the author
mybasirpurcity.pk92@gmail.com
PixcelConvert editorial contributor covering image formats, conversion workflows, compatibility, and practical publishing decisions.